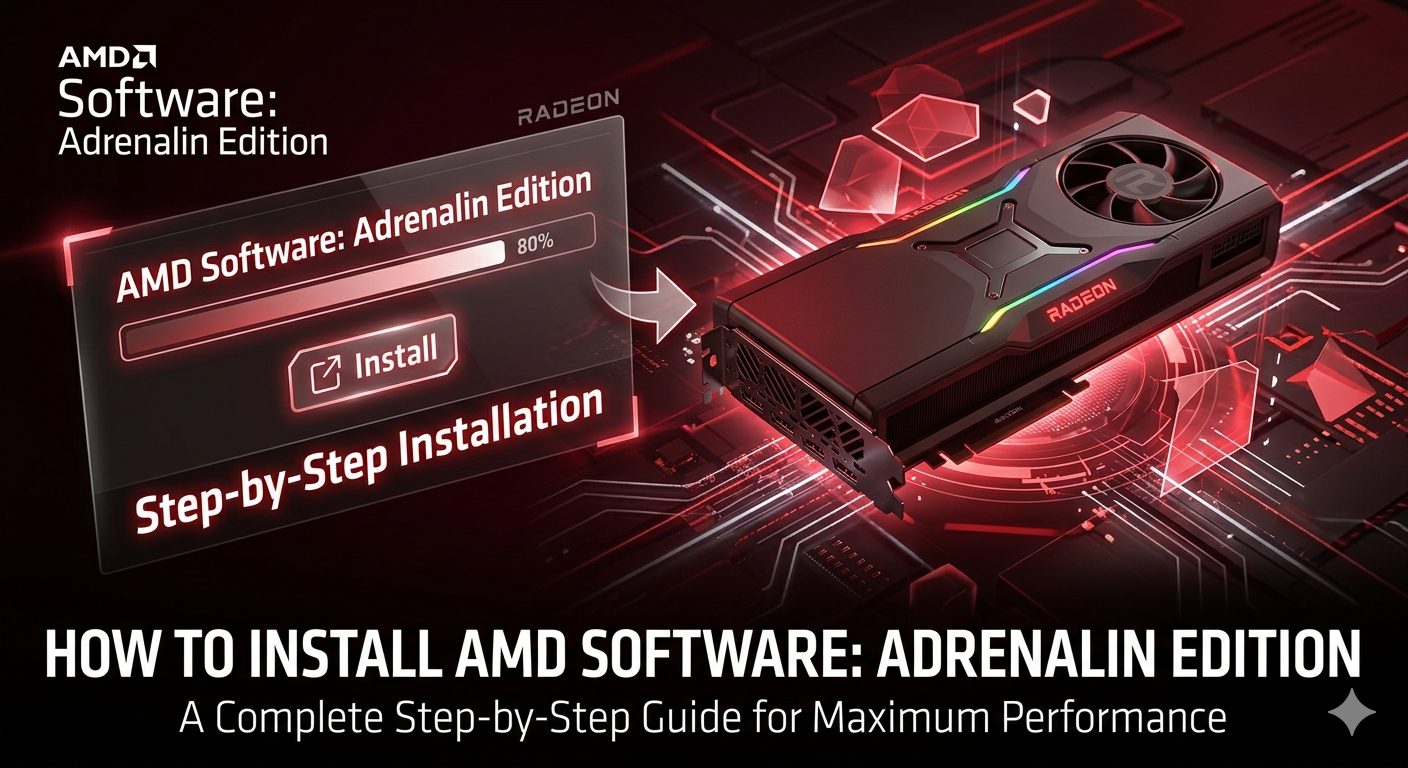
Learning how to install AMD Software: Adrenalin Edition correctly is the single most critical step to unlocking the full performance of your Radeon GPU. Whether you are setting up a brand-new graphics card or optimizing your current PC gaming rig for a major game launch, using the proper installation method ensures maximum frame rates, lower latency, and zero system crashes.
While many users simply overwrite old graphics drivers, a messy installation often leaves behind corrupted files that conflict with Windows Update, causing micro-stutters and random black screens.
If you are looking for the fastest, most stable way to configure your system, here is the bulletproof method to do it right:
How to Install AMD Software: Adrenalin Edition
To install the AMD Adrenalin software wrapper, first download the latest WHQL-certified installer matching your specific graphics card from the official AMD Drivers and Support page. Run the executable file as an administrator. For the cleanest setup, choose the Full Install option, toggle the Factory Reset checkbox to purge old driver fragments, and click Install. Once the process completes, restart your PC to apply changes.
In this comprehensive setup guide, we will break down the differences between Express and Custom installations, look at the hidden “Driver Only” configuration for zero-bloat performance, and troubleshoot the most common installation error codes so you can get back to gaming without the headache.
Before You Start: System Requirements & Compatibility
Before downloading the installer, verifying that your hardware configuration and operating system fully match the requirements for AMD Software: Adrenalin Edition prevents installation failures, frozen screens, and corrupted driver files.
With recent major software updates (including the Adrenalin 26.x branch), AMD has streamlined its main driver package while introducing dedicated installation pathways for specialized machine-learning tools.
1. Radeon Product & Architecture Compatibility
Modern versions of the Adrenalin software support desktop graphics cards, laptop modules, and desktop processors with integrated graphics (APUs) across several architectural generations.
| GPU Series | Architecture Tier | Technical Notes (2026 Update) |
| Radeon RX 9000 Series (e.g., RX 9070 XT, 9070, 9060 XT) | RDNA 4 | Full native support for next-gen ray tracing accelerators, FSR 4.1 frame generation, and local AI processing. |
| Radeon RX 7000 Series (e.g., RX 7900, 7800, 7700, 7600 XT) | RDNA 3 | Full support for global features, smart technologies, and dedicated AI accelerators. |
| Radeon RX 6000 Series (e.g., RX 6800, 6750 XT, 6600) | RDNA 2 | Enters standard maintenance lifecycle; full support for stable gaming branches and FSR updates. |
| Radeon RX 5000 Series | RDNA 1 | Base RDNA tier support; excludes specific hardware-level ray tracing features. |
| Radeon PRO W-Series | Workstation RDNA | Supported via unified or enterprise-specific driver paths. |
| Ryzen AI & Ryzen Processors | Radeon Integrated | Built-in graphics units on modern desktop and notebook chipsets. |
Important Note for Polaris & Vega Users: Legacy architectures like the Radeon RX 400/500 series and Vega graphics are no longer part of the core Adrenalin software package. If you are running these older cards, you must download the dedicated legacy branch installer (e.g., Adrenalin 26.5.2 Legacy Edition) specifically optimized for stability in legacy titles.
2. Supported Operating Systems
AMD Software requires a clean, updated 64-bit ecosystem. Legacy 32-bit environments are entirely unsupported.
- Windows 11: 64-bit execution environment (Version 21H2 and later required).
- Windows 10: 64-bit execution environment (Version 21H2 and later required).
3. The 2026 “AI Bundle” Prerequisite
Starting with the modern Adrenalin 26.x.x installers, AMD has integrated an AI Bundle option directly into the installation package for compatible RDNA 3 and RDNA 4 setups.
If you plan to utilize local AI-powered features (such as local LLMs or offline image generation frameworks), your system will need an additional 15 GB to 20 GB of free storage space to accommodate these runtime packages. During setup, you will be prompted to accept a separate AI Acceptable Use Policy alongside the standard End-User License Agreement (EULA).
4. Critical Pre-Installation Checklist
To guarantee a smooth handshake between the hardware layer and the operating system during deployment, complete these four checks:
- Administrator Access: You must run the installation using a profile with full local administrator privileges to allow the software to commit files to the Windows Registry.
- Temporarily Disconnect the Internet: This is highly recommended for clean installs. It blocks Windows Update from forcefully injecting a generic display driver the moment your screen flickers off.
- Close Background Overlays: Shut down active frame-rate trackers or overclocking utilities (like MSI Afterburner or RivaTuner Statistics Server) to avoid resource lockups during display stack resetting.
- Laptop Power Engagement: If optimizing a gaming laptop or portable handheld system, ensure the device is securely plugged into wall power rather than battery power to prevent power state transitions during installation.
Why a “Clean Install” Matters (The Secret to Zero Stutters)
When a new graphics driver drops, it is incredibly tempting to just download the file, click “Express Install,” and let the installer overwrite your current setup. While this method is fast, it is what hardware enthusiasts refer to as a “dirty install”—and it is one of the leading causes of unstable PC gaming performance.
When you continuously stack driver updates on top of each other, the operating system doesn’t always clean up properly. Legacy registry entries, old shader caches, and orphaned system files stay tucked away inside your system directories.
When a modern game engine tries to communicate directly with your Radeon GPU, these residual driver fragments can trigger minute timing conflicts. Even if your average frame rate looks high on paper, these conflicts manifest as sharp, unpredictable drops in your 1% low FPS metrics. To the player, this looks and feels like frustrating micro-stutters and erratic frame pacing.

true clean installation completely scrubs the display pipeline before writing a single new file. By wiping out the old infrastructure first, you ensure that the fresh version of AMD Software establishes a direct, uncorrupted link with the Windows kernel.
AMD Cleanup Utility vs. Display Driver Uninstaller (DDU)
To clear the path for your new Adrenalin installation, you should avoid standard Windows uninstall tools. Instead, utilize one of two specialized software utilities designed to purge graphic stacks safely inside Windows Safe Mode:
1. The Official Option: AMD Cleanup Utility
This is AMD’s proprietary standalone tool. When executed, it automatically prompts your PC to reboot into Safe Mode, uninstalls all legacy AMD display, audio, and chipset driver frameworks, and reverts your monitor to a basic Microsoft display driver layout.
- Best For: Routine driver updates, rolled-back driver tests, or standard system updates where you aren’t switching out hardware brands.
2. The Advanced Option: Display Driver Uninstaller (DDU)
DDU is an incredibly thorough third-party freeware app that executes a brute-force system scrub. It completely wipes out deeply buried registry keys, deletes hardware-specific system paths, and actively blocks Windows from automatically re-downloading standard display drivers the second your PC reboots.
- Best For: When you are upgrading from an NVIDIA or Intel card over to a new AMD Radeon GPU, or when you are trying to resolve persistent driver installation error codes (like the notorious Error Code 43).
The Golden Rule: Always run these cleanup utilities with your ethernet cord unplugged or Wi-Fi turned off. If your PC has an active internet connection the moment it reboots with wiped drivers, Windows Update will immediately try to force-install an outdated generic display profile, overriding your clean slate.
To do this, you can download the latest version of Display Driver Uninstaller from Wagnardsoft to perform a complete system scrub.”
How to Download the Correct AMD Installer
To avoid malicious software masquerading as official drivers, you must pull your installation package directly from the official AMD Drivers and Support repository. Navigating this hub correctly ensures that you grab an executable file tailored precisely to your specific graphics card model and Windows operating system version.
AMD provides two distinct paths to acquire your file: manual selection or automated detection.
Option A: Manual Driver Selection (Recommended for Maximum Control)
Manually fetching the installer is the preferred method for PC enthusiasts. It gives you an isolated offline installation asset, ensuring that you can control exactly when the configuration process fires off without relying on live background network checks.
- Navigate directly to the AMD Drivers and Support landing page.
- Scroll down to the product selector matrix.
- Work through the chronological drop-down menu lists to pin your exact device:
- Product Category: Select Graphics.
- Product Family: Pick your core lineup (e.g., Radeon RX 7000 Series).
- Product Line: Refine your sub-series (e.g., Radeon RX 7800 Series).
- Product Model: Choose your specific card profile (e.g., AMD Radeon RX 7800 XT).
- Click Submit to reveal the dedicated downloads page.
- Click the expansion toggle next to your specific OS profile (e.g., Windows 11 – 64-Bit Edition) and look for the newest version of AMD Software: Adrenalin Edition to download.
Option B: The AMD Auto-Detect and Install Tool (The Quick Route)
If you are unsure of your exact hardware architecture or are configuring a pre-built laptop with hybrid integrated/dedicated graphics, AMD offers a lightweight web-installer applet called the Auto-Detect Tool.
Instead of navigating long hardware lists, you simply download this small installer stub. When executed, it checks your hardware profile, matches it with the best configuration tree in the cloud, and fetches the necessary operational assets behind the scenes.
Understanding “Recommended” vs. “Optional” Packages
When looking at the target file options, you will often find two different software branches available for download under the same operating system drop-down. Understanding this choice is critical for your system stability:
- Recommended (WHQL Certified): These packages have successfully passed Microsoft’s intensive Windows Hardware Quality Labs compliance protocols. They are heavily tested for daily system tasks, enterprise workflows, and long-term operating system integration. Choose this version by default if you value pure stability.
- Optional (Beta / Game-Ready): These releases drop frequently to provide day-one code optimizations, bug fixes, and performance profiles for newly released video game titles. While technically stable, they haven’t completed full formal WHQL screening cycles yet. Choose this version if you are trying to squeeze max performance out of a brand-new AAA game release.
Step-by-Step: Installing AMD Software Adrenalin Edition
Once you have downloaded the correct installer package, it is time to execute the deployment wizard. This phase requires your active input; simply hitting “Next” repeatedly will miss key optimization features and fallback safety options.
Below is the definitive step-by-step walkthrough to configure your setup for maximum system stability.
The Tactical Installation Sequence
1.Launch the Executable and Unpack:1-2 minutes.
Locate your downloaded .exe file, right-click it, and select Run as Administrator. The installer will prompt you to choose an unpacking destination folder. Keep the default location (C:\AMD\) and click Install to expand the core architecture packages.
2.Pass Compatibility Checks and Access Advanced Options:30 seconds.
The wizard will automatically initialize and scan your hardware for Radeon compatibility. Once the main setup splash screen appears, do not click install yet. Look for the Advanced Options dropdown toggle beneath the primary path information and expand it.
3.Select Your Driver Profile Tier:1 minute.
Inside the Advanced Options menu, click the Install Type dropdown. You must select one of three specific operational profiles based on your workflow needs: Full Install, Minimal Install, or Driver Only (detailed in the breakdown matrix below).
4.Engage the Factory Reset Protocol:5-10 minutes (Includes Automatic Reboot).
Check the box next to Factory Reset (Optional). This temporarily pauses background Windows Updates on your system to prevent files from locking up. The installer will cleanly delete prior versions, automatically restart your PC, and then seamlessly resume driver deployment the moment you log back into Windows.
5.Finalize and Confirm the Display Flush:2 minutes.
Click Install. During this execution phase, your monitor screen will flicker and black out for several seconds—this is entirely normal behavior as the OS swaps out the active display driver stack. Once completed, click Finish and execute one final manual system restart.
The 3 Installation Profiles Explained
Choosing the right profile changes what software gets written to your hard drive. Use this breakdown to match your gaming style:
| Install Type | Features Written | Best For | Pros & Cons |
| Full Install (Default) | Raw Display Driver + Complete Adrenalin UI + Recording/Streaming tab + Performance Tuning (WattMan) + Overclocking. | Active streamers, creators, and enthusiasts who want full control over fan curves and instant gameplay clips. | Pros: Everything in one app. Cons: Highest background memory footprint. |
| Minimal Install | Raw Display Driver + Simplified Control Panel + Basic Display/FreeSync toggles + Image Sharpening. | Gamers who use third-party tools like OBS for streaming or MSI Afterburner for tracking stats. | Pros: Light resource usage, eliminates overlay lag. Cons: No native fan adjustments or tuning. |
| Driver Only | Pure Display Driver. Zero software user interface. Managed completely via standard Windows Device Manager. | Competitive esports players seeking absolute maximum system stability and minimal background bloat. | Pros: Zero overlay bugs, lowest latency. Cons: Advanced settings must be manipulated through the Windows Registry or custom community mini-tools. |
Crucial Post-Installation Steps
Clicking the final “Finish” button on the installation wizard does not mean your setup is fully optimized. To prevent the operating system from defaulting to safe configurations and to ensure your hardware runs at its true peak, you must complete two foundational post-install procedures: verifying the driver handshake and initializing your global gaming profiles.
1. Verifying Success in Windows Device Manager
Before opening a game launcher, you must ensure that Windows has properly registered the driver and hasn’t flagged the hardware with a system restriction.
- Press Windows Key + X on your keyboard and select Device Manager from the system menu.
- Locate and double-click the Display adapters category to expand the tree.
- Right-click your newly configured card (e.g., AMD Radeon RX 7800 XT or RX 9070 XT) and select Properties.
- Under the General tab, verify that the Device status dialog box reads exactly: “This device is working properly.”
If you see a yellow warning triangle or an explicit message stating “Windows has stopped this device because it has reported problems. (Code 43)”, the driver framework crashed mid-handshake. Do not attempt to play games; instead, jump immediately to our troubleshooting section down below to clear the registry block.
2. 3 Global Adrenalin Settings to Turn On Immediately
If you opted for a Full Install, open the control center by hitting ALT + R on your desktop. Navigate directly to the Gaming > Graphics tab to flip these three highly impactful performance toggles:
A. Activate Radeon Anti-Lag (or Anti-Lag 2)
Input latency is the silent enemy of smooth gameplay. Enablng Radeon Anti-Lag realigns the CPU’s frame pacing rhythm with the GPU’s rendering pipeline to prevent the processor from getting too far ahead.
- For modern titles (like Valorant, CS2, or Ghost of Tsushima): Turn on Anti-Lag 2 directly inside the game’s internal settings graphics menu instead of the driver panel. Because Anti-Lag 2 is integrated at the engine level right before input polling occurs, it can cut click-to-response times down by over 50%.
B. Enable Smart Access Memory (SAM)
If your system pairs an AMD Ryzen processor alongside your Radeon graphics card, leaving Smart Access Memory disabled means missing out on free performance.
- By default, a standard Windows PC can only access 256 MB of graphics memory at a time. Flipping the SAM toggle lets the CPU tap into the entire VRAM pool simultaneously via PCI Express channels. This eliminates data choke points and instantly elevates your 1% low frames by 5% to 15% depending on the game engine.
C. Configure a Custom Zero-RPM Fan Profile
Out of the box, default profiles keep the graphics card completely silent until core temperatures reach high thermal thresholds. While this is great for quiet office work, it allows intense heat to saturate the circuit board during long gaming sessions.
- Navigate to the Performance > Tuning tab.
- Change the tuning control setting to Custom and expand Fan Tuning.
- Disable the Zero RPM toggle and set up a smooth, linear fan curve (e.g., 40% fan speed at 50°C scaling smoothly up to 75% fan speed at 75°C). Keeping the silicon cool early prevents aggressive thermal throttling mid-match.
Troubleshooting Common AMD Adrenalin Installation Errors
Even with perfect preparation, the Windows environment can occasionally disrupt your installation. When the setup chain fails, the installer will usually halt and throw a specific warning card.
Below are the solutions to the three most common roadblocks encountered during an AMD graphics software deployment.
1. How to Fix AMD Installer Error 182 or 1603
These are the two most prominent execution errors triggered within the AMD setup wrapper.
Error 182 – “Graphics Hardware Not Supported”
This error occurs when the installer scans your system configuration and finds a display chip that does not match the driver code architecture inside that specific package.
- The Cause: You downloaded the mainstream desktop driver package, but your system is running an legacy architecture (like Polaris RX 480/580 or Vega), an embedded industrial chip, or a custom OEM laptop graphics configuration.
- The Fix: Do not use the generic auto-detect stub. Go back to the manual AMD driver selector page and explicitly download the Legacy/Custom branch matching your product’s architecture tier. If you have an integrated CPU processor running alongside a dedicated card, temporarily select Disable device on the integrated graphics profile inside Device Manager before launching the installer.
Error 1603 – “A General Error Has Occurred”
Unlike 182, error 1603 is a broad Windows installer runtime breakdown. It usually points to corrupted system frameworks or resource locking.
- The Cause: Missing or broken Microsoft Visual C++ Redistributable files, an over-aggressive third-party antivirus framework locking files in the C:\Program Files\AND directory, or corrupted Windows Registry keys.
- The Fix:
- Open Windows Terminal as an administrator and type SFC /scannow to fix base OS file errors.
- Re-download and install the latest Visual C++ Redistributable architecture packages directly from Microsoft’s core portal.
- Run the AMD Cleanup Utility in Windows Safe Mode to completely clear any locked registry paths before trying to run the installer executable again.
2. What to Do if Your Screen Goes Black During Installation
During step 5 of the installation wizard, your physical monitor will flicker, change resolutions, or go completely dark for several seconds. This is normal behavior—the operating system is dropping the active display buffer, unbinding the old kernel path, and binding to the new driver stack.
However, if your monitor stays entirely dark or displays a generic “No Signal” banner for longer than 5 minutes, your system display pipeline has experienced a soft lock.
- The Immediate Rescue Shortcut: Press Windows Key + Ctrl + Shift + B simultaneously on your keyboard. This manual shortcut forces Windows to instantly emit a high-priority beep, flush the graphics subsystem cache, and force-restart your display handshake without executing a hard reset on your running applications.
- The Fallback Plan: If the shortcut fails, hold down your PC’s mechanical power button for 10 seconds to force a cold shutdown. Unplug your internet connection (ethernet or Wi-Fi) and power the machine back on. The system will safely boot up using a native Microsoft Basic Display Driver, allowing you to run the installer again.
3. Fixing the Infamous Windows Update Driver Overwrite Issue
This is arguably the most common issue facing Radeon users. You successfully install the latest Adrenalin Edition software, but a few days later, you attempt to open the app and get an immediate crash block stating the following:
“AMD Software and Driver versions do not match.”
This happens because Windows Update has silently gone behind your back, pulled down an outdated legacy driver from its own cloud registry, and forced it over your pristine manual installation.
To stop Windows from breaking your graphics stack completely, apply this permanent structural block:
The Group Policy Fix (For Windows Pro / Enterprise Users)
- Press Windows Key + R, type gpedit.msc into the execution bar, and hit Enter.
- Navigate through this path folder tree:
Computer Configuration > Administrative Templates > Windows Components > Windows Update - In the right-hand panel, locate the entry labeled: Do not include drivers with Windows Updates.
- Double-click it, change the setting value toggle to Enabled, click Apply, and hit OK.
The Registry Editor Fix (For Windows Home Users)
If your edition of Windows doesn’t include the Group Policy Editor, you can execute the same exact block within your local system registry:
- Press Windows Key + R, type regedit into the run prompt, and press Enter.
- Paste this specific location path into the top navigation bar:
HKEY_LOCAL_MACHINE\SOFTWARE\Policies\Microsoft\Windows\WindowsUpdate - Note: If the final WindowsUpdate folder key doesn’t exist, right-click the Windows folder, choose New > Key, and name it WindowsUpdate.
- Right-click in the empty space inside the right panel, select New > DWORD (32-bit) Value, and name it exactly: ExcludeWUDriversInQualityUpdate
- Double-click your newly generated key, change its Value data parameter from 0 to 1, click OK, and restart your computer.
Conclusion
Mastering how to install AMD Software: Adrenalin Edition is the single best way to ensure your hardware runs at peak operational capacity. By stepping away from raw express updates and utilizing specialized clean-slate methodologies, you structurally eradicate the underlying code fragments that induce frame time stuttering and application drops. Set aside ten minutes to run through a deliberate configuration sequence, toggle the performance profiles that align with your specific layout goals, and you will secure an unshakeable, fluid computing foundation across every digital landscape you navigate.